Drawing upside down is something so weird and different that one wouldn’t consider it a good way to get better at drawing, but I’ve been amazed by how this exercise can help you improve. So what is drawing upside down in art?
Drawing upside down is an exercise that activates the brain’s right side and enhances how you recognize shapes and lines in a picture. People tend to draw what they know, so artists draw upside down to focus only on what they see. This exercise consists of turning a drawing upside down and draw it.
By the end of this article, my goal is to make you start seeing things differently so you can decompose anything you see into lines and shapes. I want you to prove yourself you can draw!
What Is Upside Down Drawing?
Drawing upside down is an exercise first introduced by Betty Edwards in her book Drawing on the Right Side of the Brain. This exercise intends to help people draw better and change the way they approach drawing. When you draw upside down, all concepts of how you perceive things disappear, limiting you to draw what you see. Upside-down drawing is now one of the first exercises art schools teach to artists in their beginning stages.
What Is The Purpose Of Upside Down Drawing?
You first need to learn to see before you learn to draw. The purpose of drawing upside down is to help people see things as they really are. Our brains thrive at seeing things as a whole, which is excellent for quickly understanding our surroundings, but not too much for drawing.
Drawing requires you to see the details one would generally ignore, and when you draw something upside down, it’s like you magically focus on every detail. The reason behind this is that when you turn a picture upside down, you’re now looking at something you don’t know, making you draw the picture better because your brain is now “forced” to focus on all the details.
In the end, everything you draw is just a combination of lines that give form to something. And that’s how you should see things when you draw.
Why Is Drawing Upside Down So Important?
Apart from making you draw from perceptual observation and not conceptual understanding, drawing upside down is an exercise that gives people the confidence they could draw when focusing on abstraction. Just as with any skill you want to learn, motivation plays a significant role in how fast you learn it, and if you think you cannot draw at all from the beginning, you will probably quit trying it. However, the artistic community found that this exercise can show a person, without any real drawing experience, how well she can draw at any given time.
Picasso’s Upside Down Drawing
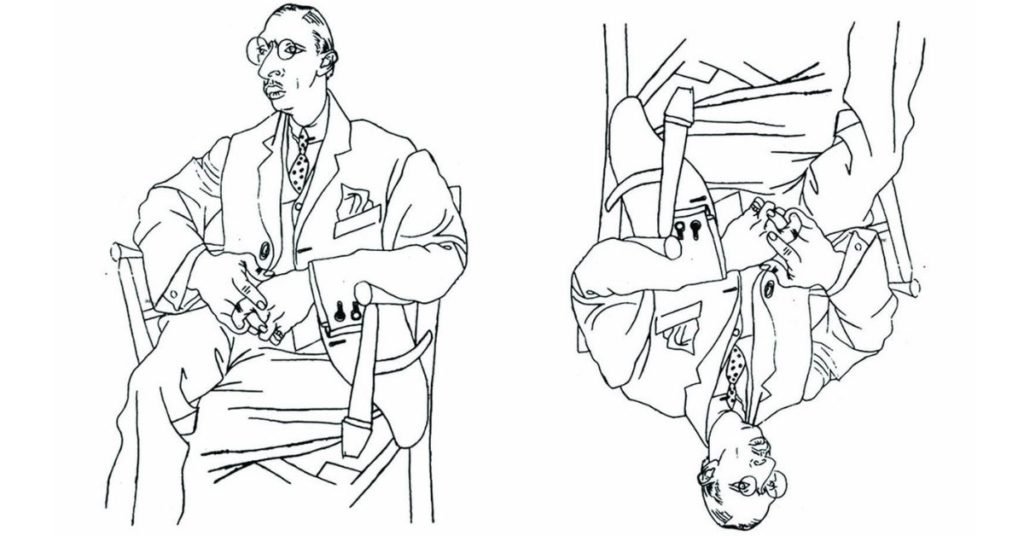
Many upside-down drawing exercises use line drawings, as these are harder for the brain to understand. One of the most popular works of art found when drawing upside down is Igor Stravinsky’s portrait by Pablo Picasso. It is popular because Betty Edwards used it as one of her first exercises in her book, and many artists started to replicate it.
One important fact to know about Stravinsky’s portrait is that Pablo Picasso didn’t sketch this portrait upside down; art schools use it because it is especially confusing when flipping it upside down. The exercise’s theory is that an artist should be able to draw a picture sideways, upside-down, right side up, backward, or any other way imaginable.
The most important aspect of an image is not the image itself but the lines that give form to it. Draw the lines in the correct order, and you can represent anything in a drawing.
How To Do The Exercise
Give this exercise a try yourself by following the steps below. It might seem scary initially, but I’m sure you will be surprised by the results! Remember to focus on what you’re seeing and forget everything else.
Step 1
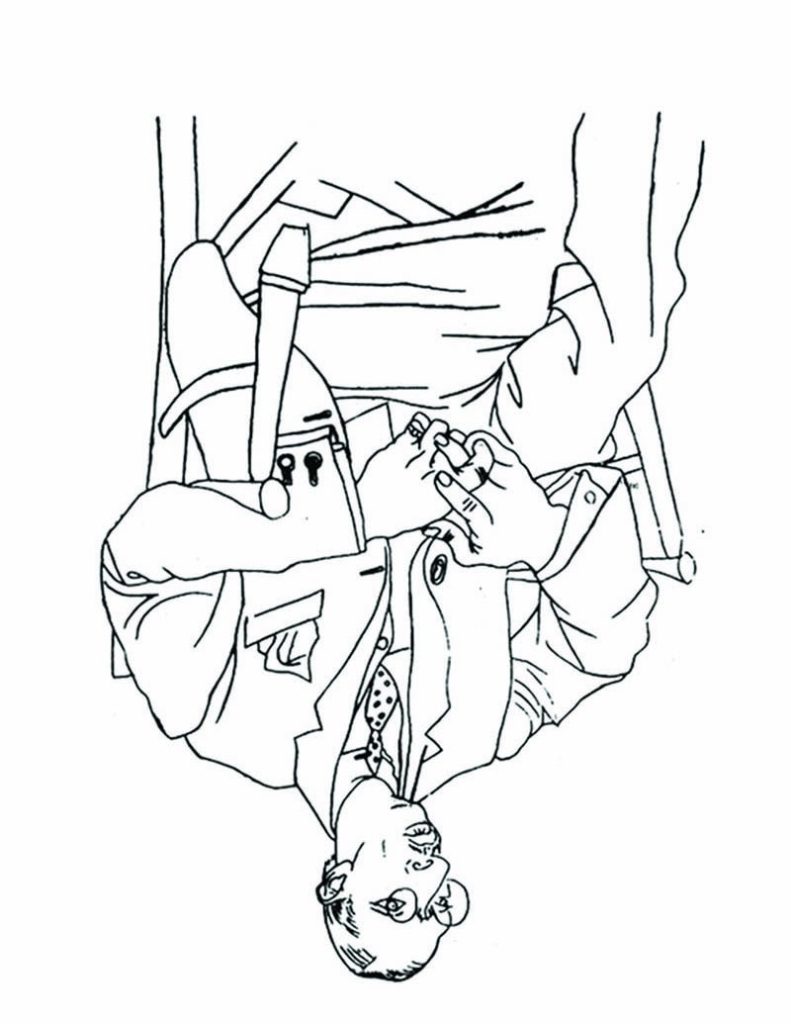
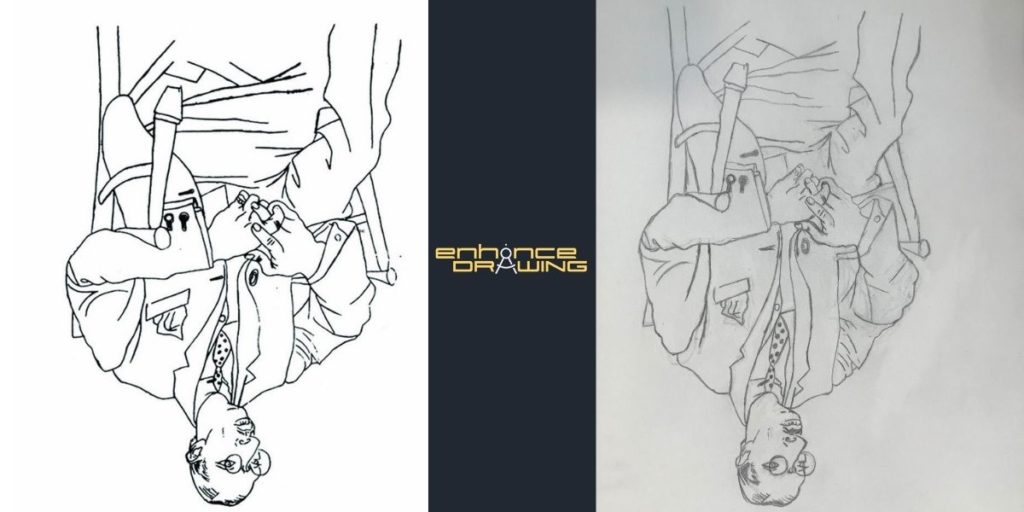
Take a copy of Stravinsky’s portrait by Picasso and turn it upside-down. You can either print it or see it from any digital device. The one above is the official one.
Step 2
Cover the portrait with a blank piece of paper except for a small section at the top. If you have the image on a computer, cover it with a white square on top of the picture.
Tip #0: Take measures of the drawing using any method you prefer. You can do it using your pencil, a ruler, or your intuition. If you have the correct spacing from the beginning, you’ll be able to use your first lines as a reference, and your drawing will turn out a lot better. You just need to measure the width and height of the drawing.
Step 3
Proceed to draw the area you left uncovered. You can start drawing it from left to right, or any way you prefer. It will look like a lot of lines without a purpose, but be patient and follow the process as you see it here. It’s always amazing to see how the lines start to resemble what you’re drawing.
Tip #1: Draw the lines exactly as you see them. Try to disconnect what you’re drawing from what you think it is. To make the most out of this exercise, refuse to identify the subject the most you can. Just draw what you see.
Step 4
Once you finish drawing the area you left uncovered, reveal a little more and proceed to draw it.
Tip #2: Don’t see images as a whole. Images are just a combination of lines with different shapes, lengths, thicknesses, and angles. When you know the line you’re drawing next, I want you to think about it this way: what angle will this line have? How long will it be? At what distance is it from previous lines? Does it have any curvature, or is it a straight line?
It seems like a vague or straightforward approach, but it’s incredible how just focusing on drawing line by line creates great, accurate pieces of art.
Step 5
Continue uncovering more areas of the drawing and draw the lines until you finish the exercise.
Tip #3: It’s okay if you don’t feel like the lines you drew are accurate or how you expected them to be. You can erase and redraw them again. But before you erase them, think about why you want to do it and determine what you need to fix in your next stroke. If you don’t determine that, you will likely end up drawing a very similar line.
And there you have it! You drew a very complex piece of art. It is probably not perfect, but I’m sure it resembles Picasso’s work. Below are some extra exercises to practice your upside-down drawing skills at different levels.
Upside Down Drawing Exercises
Now that you know how to put this exercise into practice, you can draw more images using the same process. Although the method I explained above is the official one, you can also draw upside down without covering the picture you’re using as a reference.
However, when you see the whole picture upside down, there’s still a chance your brain will see it conceptually, so I recommend using the official method enough times until you feel like you can focus on drawing what you see. Remember, this exercise’s whole goal is to make your brain stop seeing images as a whole and instead see them as the lines that make the picture up.
Let’s see some other exercises you can practice to improve your drawing skill level.
Drawing Upside Down Without Covering The Drawing
We will practice the exercises in three different levels of difficulty. But before you start doing these exercises, I would like you to draw them regularly first and then upside-down. This way, you can compare the results later.
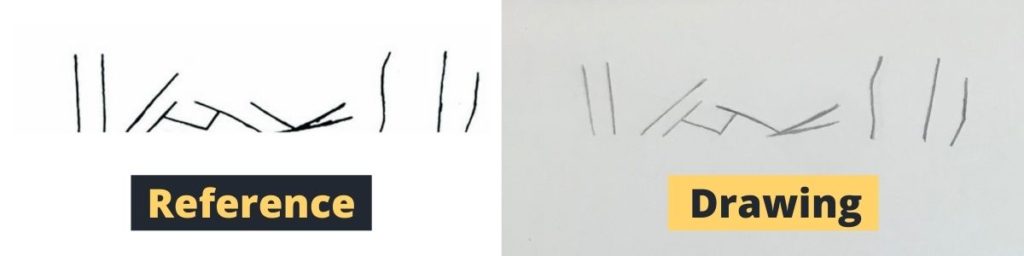
Beginner Exercise
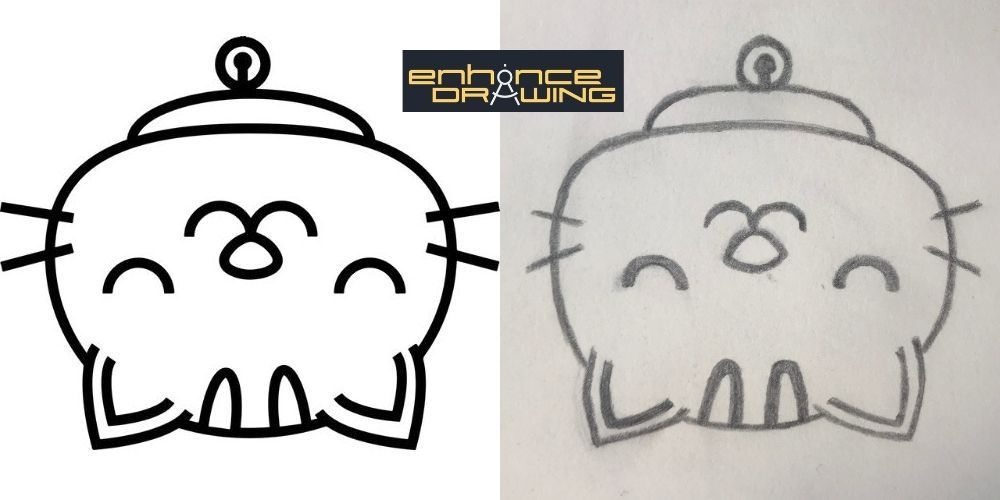
We will be using a simple drawing without much detail for the beginner’s exercise. Here’s how my drawing turned out when I drew it regularly compared to when I drew it upside down.
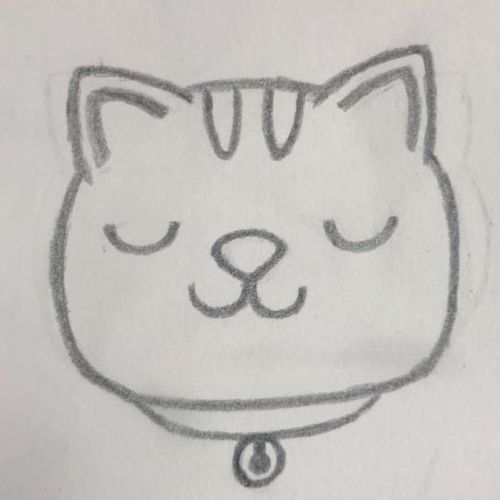
I drew the drawing above as a quick sketch and didn’t focus too much on details. You should never do that (I did it to represent how beginner artists would usually approach drawing). Always focus on the line you’re seeing and resemble it as much as you can when you draw it.
Once you have your exercise ready, compare the two of them and see which one resembles the reference better. Then, look for things you could’ve done better and keep them in mind when drawing the same drawing or a different one.
Tip #4: If you’re having a hard time figuring out the specific aspects you could’ve drawn better, try to reduce the number of factors you’re thinking about at the same time; instead, see each aspect one by one. For example, focus on proportions only and compare your drawing to the reference. If you think it could’ve been better, then try to fix it in your next attempt. Do the same with other aspects like perspective, shape, line quality, and so on.
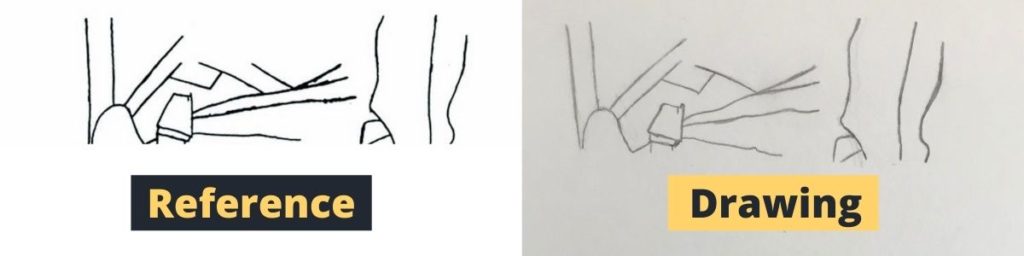
Intermediate Exercise
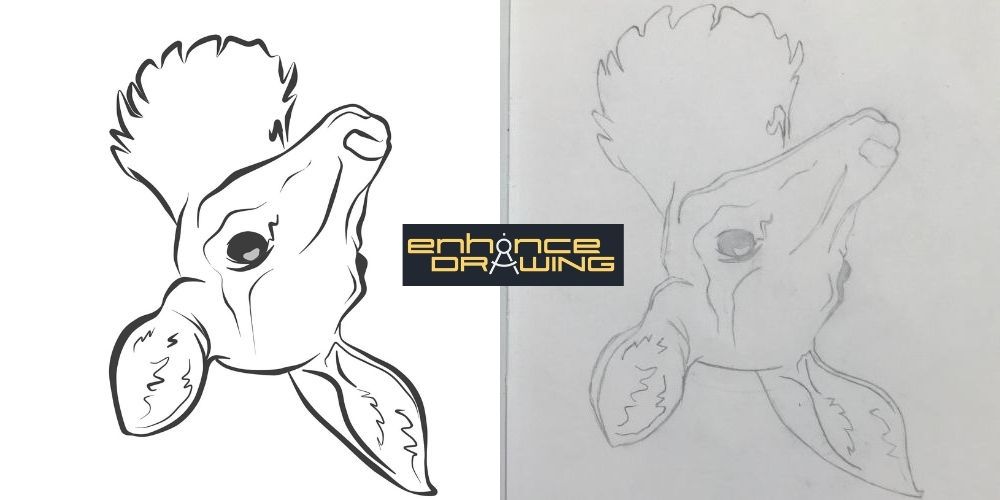
For the intermediate exercise, we will be using a picture with more details and shapes variation. Here is how this exercise turned out for me.
Tip #5: Although I’m narrowing down this exercise to different skill levels, one of the purposes of drawing upside down is to give people the confidence they can draw almost anything with the right mindset. So don’t be afraid of trying to draw pictures you think are too complicated to draw.
When people think something is too hard to draw, usually it is because they see many things happening simultaneously. They are probably not wrong. It is just that the picture they are looking at has much more lines, but since this method focuses on drawing line by line, it doesn’t necessarily make it more difficult. It is just going to take more time to finish.
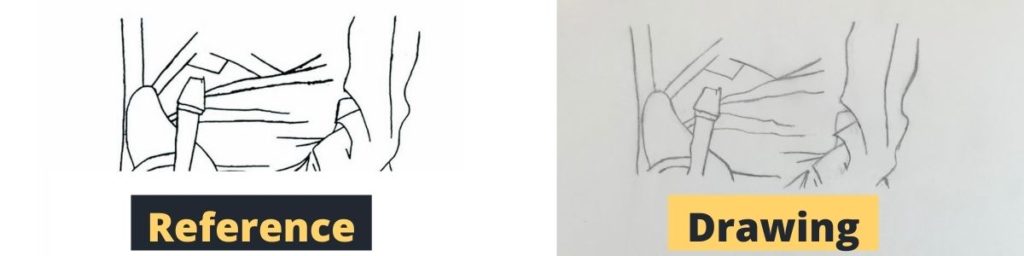
Experienced Exercise
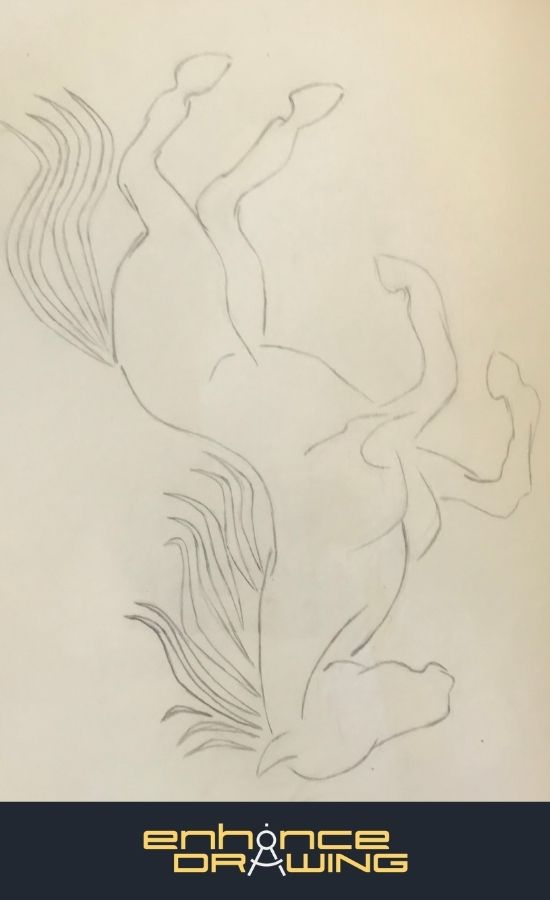
Now, for the experienced exercise, we will use an example a bit more complicated. As you can see, these two last examples use different line thicknesses, but it is not important to mimic that right now if you don’t want to. I have an article about line quality here if you’d like to improve how your drawings look.
Here is how this exercise turned out for me.
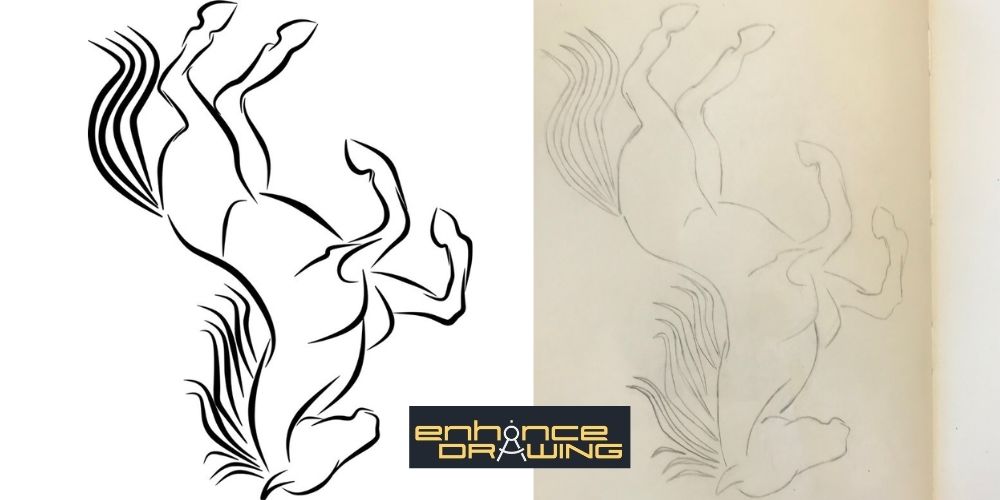
Tip #6: I picked that horse illustration for the last exercise because if you look at it, there isn’t a single continuous line, but rather many short lines that are very close to each other. Since we focus on drawing line by line, doing this exercise will enhance how you understand how the simplest of lines can create any form.
Certainly a drawing exercise worth trying to improve your skills! I found that this exercise helped me a lot in keeping my drawings more proportionate.
Drawing Upside Down Can Help You Get Started At Portraits
Every drawing exercise we have done here used outlined drawings as references, but we can use any picture we want. I’ve always struggled to draw portraits, and the majority of my drawings were always something related to manga or cartoonish styles.
As I explained above, our brain thrives at understanding its surroundings quickly, and this ability is much stronger when we see faces. We are so good at recognizing faces that we see them in the most random places, like clouds, piles of clothes, and many others. To give you a visual example, see this picture of Adele upside down.
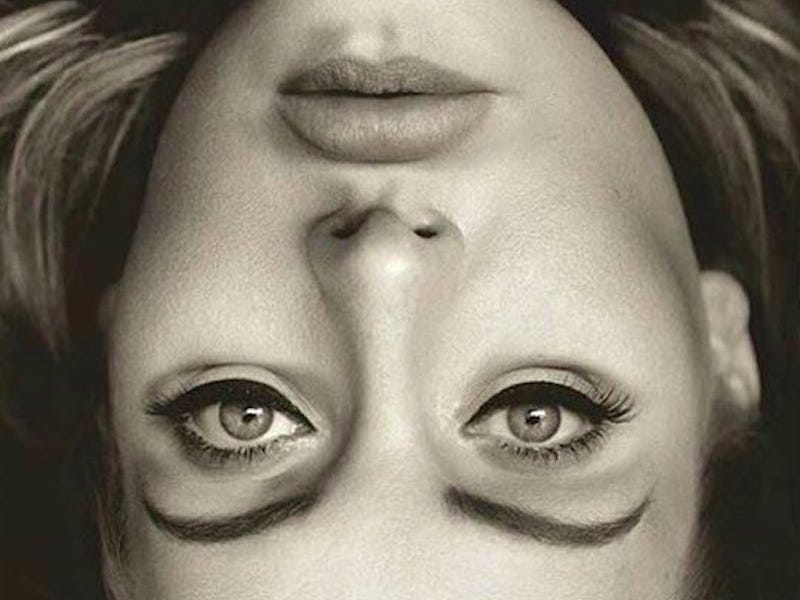
Everything looks normal, right? That’s definitely Adele. Now let’s turn it right side up again and see what happens.
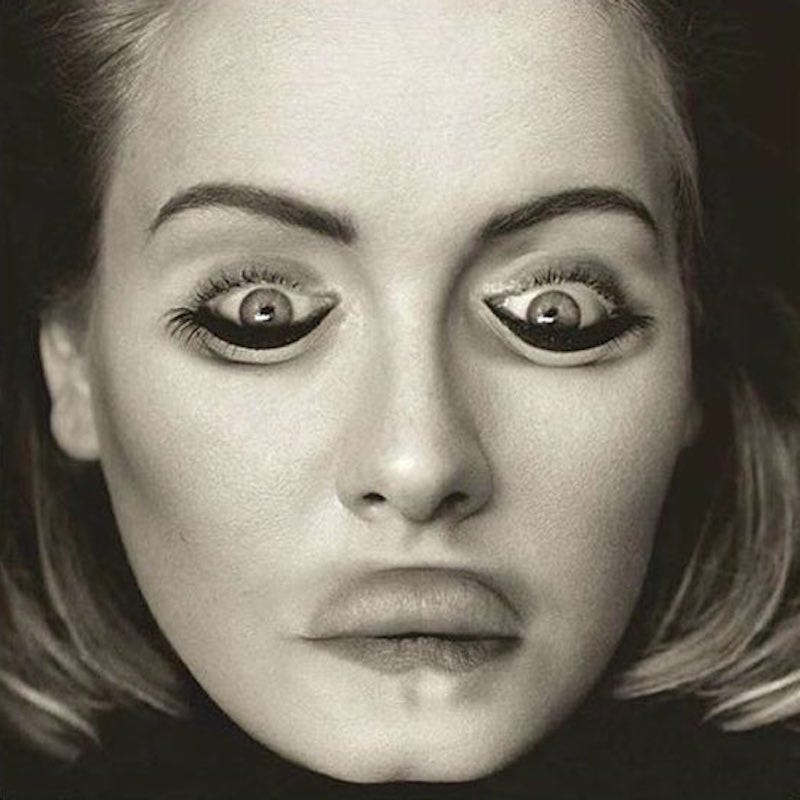
How come? It’s the same picture, and yet it looks completely different. That happens because we pick the main features of a face and form it in a snap. Of course, the image was created to confuse our brains, but now you see how fast you can miss the details in a face.
There are many ways you can correct this when drawing faces, but I think the most effective one is to focus on the lines that form it. One great way you can approach drawing portraits, and make your brain focus on what you actually see, is to draw them upside down.
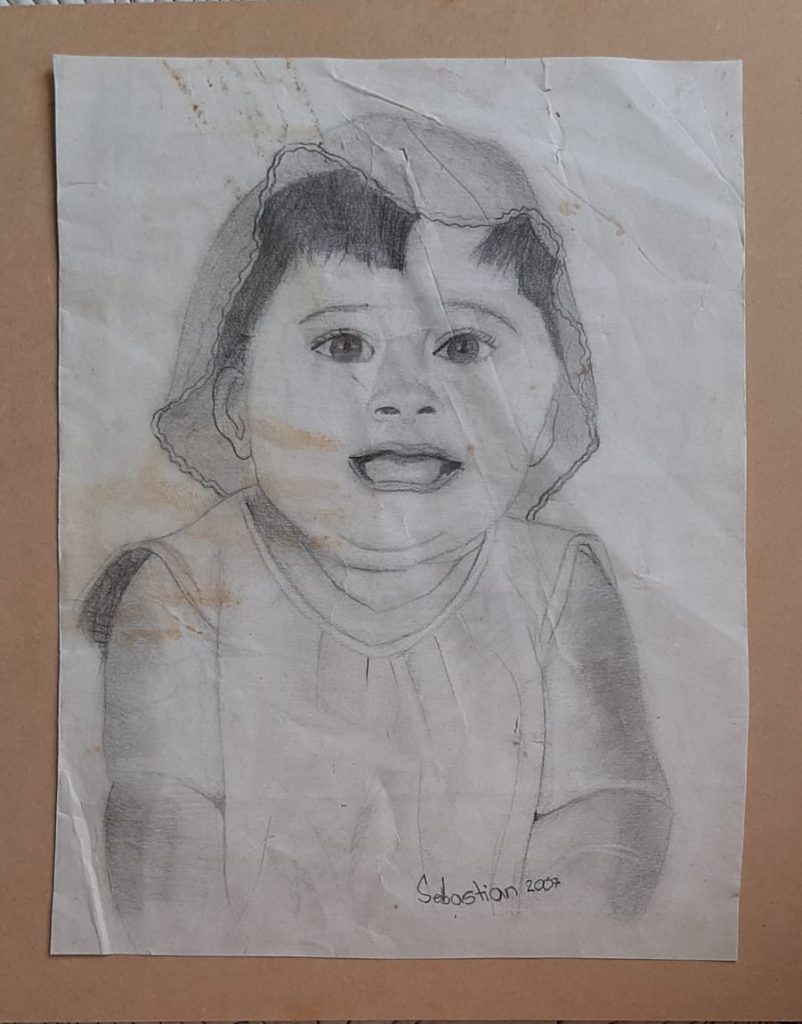
When I drew my first portrait right side up, I completely missed the proportions and many other things, but I was very impressed by the improvement when I drew upside down. The result gave me the confidence that I could draw better, and the only thing I needed was time and practice.
I recommend you try this yourself when you feel you’re ready. And when you do it, make sure you first draw the portrait right side up and then draw it upside down. That way you can see your level and how much you can improve by changing your mentality about drawing.
Tip #7: Although drawing upside down is an excellent method to get better at drawing faces and anything in general, don’t stop studying other aspects of drawings like perspective, shading, line quality, proportions, anatomy, etc. Like with all drawing methods and techniques, they all have their limits.
Is It Easier To Draw Upside Down?
Drawing upside down is not necessarily easier than regular, right-side-up drawing. However, compared to traditional drawing, sketching anything upside-down does make it easier for your brain to focus on what’s in front of you and draw more accurately. Depending on your skill level, two things could happen.
- If you don’t have much knowledge about drawing or technique, drawing upside down will make it a lot easier for a beginner to draw anything.
- If you’re an experienced artist and draw very accurately, drawing upside down could be a good exercise, but I wouldn’t say any of the two methods would be easier than the other. Experienced artists can draw anything sideways, upside down or right side up.
So basically, once you learn how to see as an artist and decompose anything into lines, you can go back to regular drawing, and you’ll be able to create unique pieces of art with the same quality.
Once You Mastered Drawing Upside Down, Go Back To Regular Drawing
Make sure you do this unless you just fell in love with drawing upside down. The reason I tell you this is because many people think: “I can draw anything when doing it upside down, so I’ll just continue doing it like that because I cannot do it right side up.” But don’t think you cannot produce great drawings when you go back to traditional drawing. Remember, the only factor that changes when you’re drawing upside down is the different mentality you approach drawing, but nothing else changes.
Final tip: Don’t get discouraged if you create a fantastic drawing, and then, when you attempt to make another one, it doesn’t look that great. It is usual for any artist to draw something exceptionally well and then something that is not equally good afterward, especially when you’re starting. Being consistent at anything requires hours of practice, trials, and errors. So if you see that a drawing doesn’t come up as you intended, use that as a learning experience by analyzing what went wrong to fix it in your next attempt.
Do this exercise enough until you’re a person that genuinely sees things as they are. When you’re drawing, the concepts of how you think things are preventing you from being a better artist. And, of course, seeing things better doesn’t mean you will be a master immediately, but you’ll be a lot closer to your goals the more things you practice and learn.
Happy drawing!