How to draw straight lines may seem like a simple thing, but it is something that artists must master before getting it right. How quickly you learn to draw straight lines depends on how you approach them. With the proper techniques and exercises, this can be just a matter of time.
If you’re here looking for how to draw straight lines, you’re in the right place. I will share with you 10 tips and exercises to draw straight lines like a pro!
1. Draw Straight Lines Using Your Whole Arm
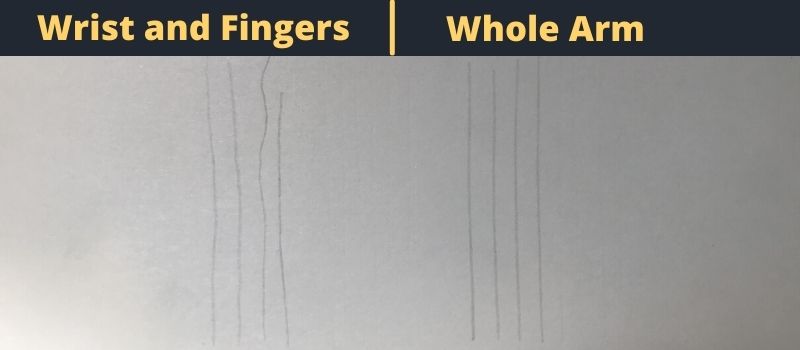
The proper way of drawing straight lines is using your whole arm and involve as few muscles as possible. One of the main reasons people struggle to draw straight lines is because they involve their fingers and wrist too much. Controlling so many variables is too complicated, and the reach you have is only the length of your fingers and wrist.
Instead, when you use your arm to control where the line goes, the result is always a much more straight and steady line. This technique is more noticeable when drawing long lines. I recorded two videos to show you examples of how not to draw a straight line and one that shows how to do it properly.
The video’s purpose is to show you how to draw the line properly. A picture of the lines I drew will be below the videos.
Drawing a straight line using my fingers and wrist only
As you can see, drawing the line becomes really difficult and, despite my efforts, it doesn’t look that great. You can achieve decent short lines by doing this, but I would recommend it.
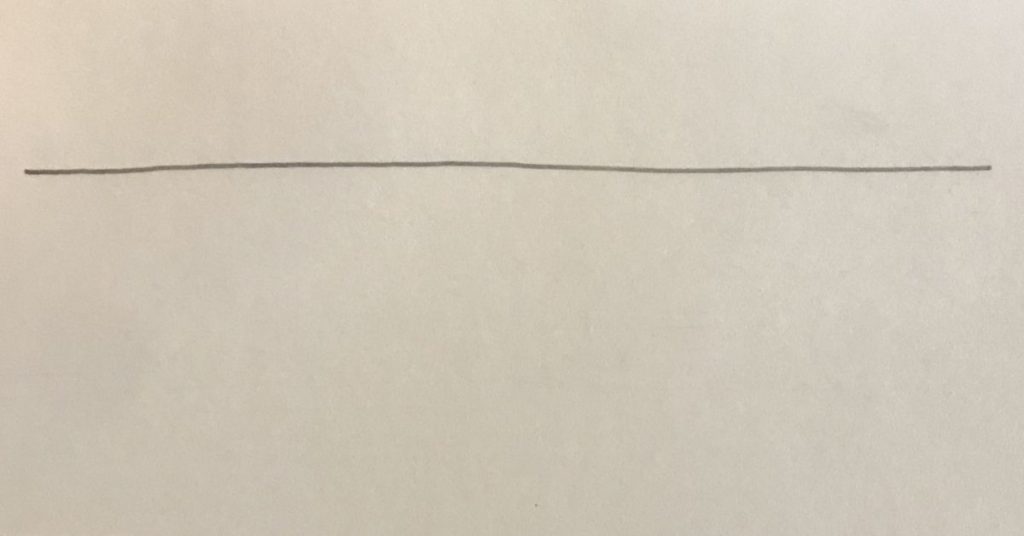
Drawing a straight line using my whole arm
Here the line is much more steady and could be longer. Not only that, I was able to draw straight lines much faster.
Insider tip #1: Your elbow controls the distance your line will have, and your shoulder controls how straight it is. If you only use your elbow, it will act as a compass, and you will end up drawing a curved line. Make sure you adjust it with your shoulders.
2. Draw Straight Lines By Connecting Dots
One of the easiest ways to draw straight lines is to draw two dots indicating where the line will start and end. Let’s see an example of the exercise.
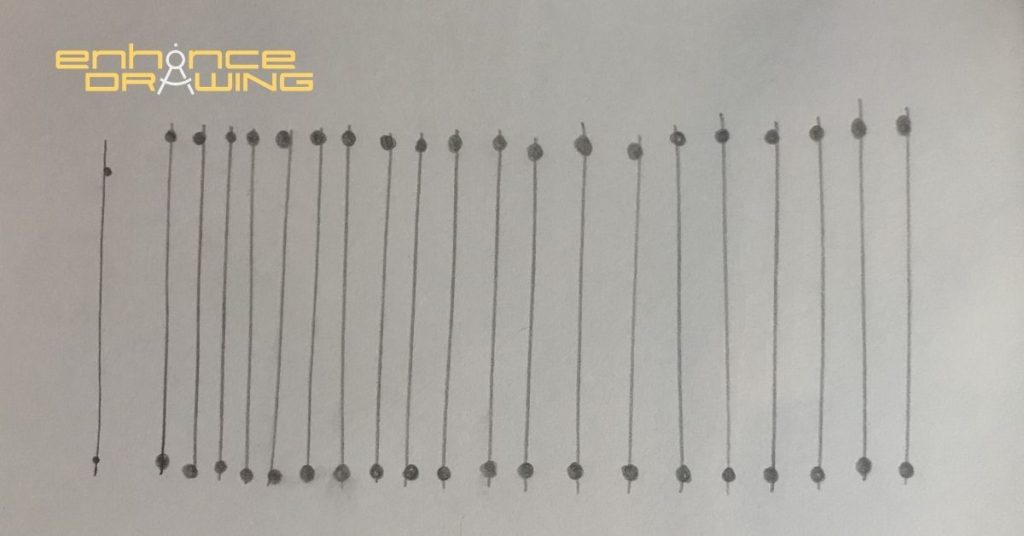
So why does this exercise help you draw better straight lines? It’s because it gives you a reference previous to the stroke. But the thing is that this reference can help you in two ways: one, it lets you know where to start and end the line. Two, it enables you to know how well you drew the line based on the reference dots. The second point is crucial for you to see if you’re improving or not.
Make practicing how to draw straight lines an even more enjoyable experience.
I recommend you do this exercise for 20-30 minutes daily until you get the desired result. Still, I also understand doing this might not be the most exciting thing ever, so here are some cool things you can draw using straight lines only: parabolic curves. To do them, follow the steps below:
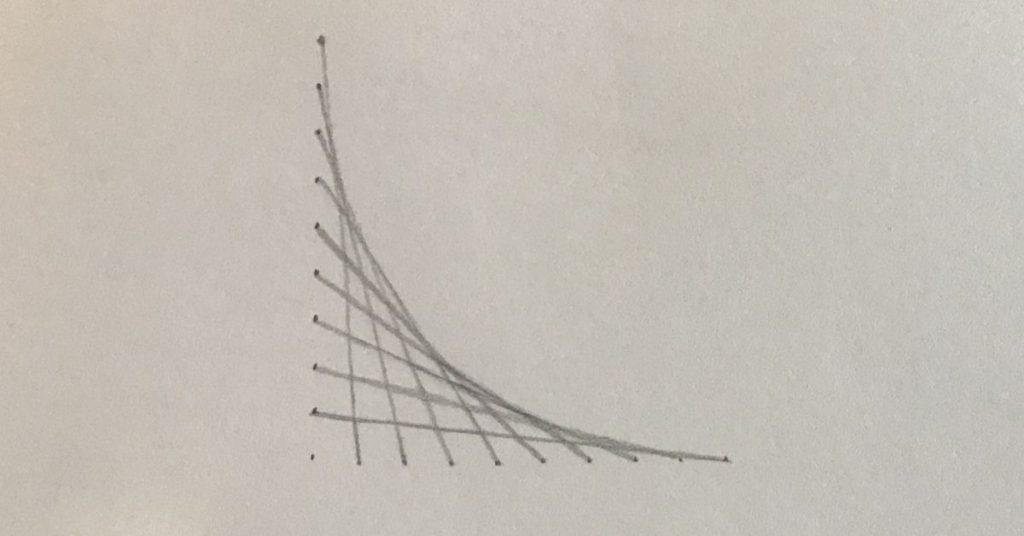
Step 1 – Draw ten horizontal dots and ten vertical dots. All of them must be evenly distanced.
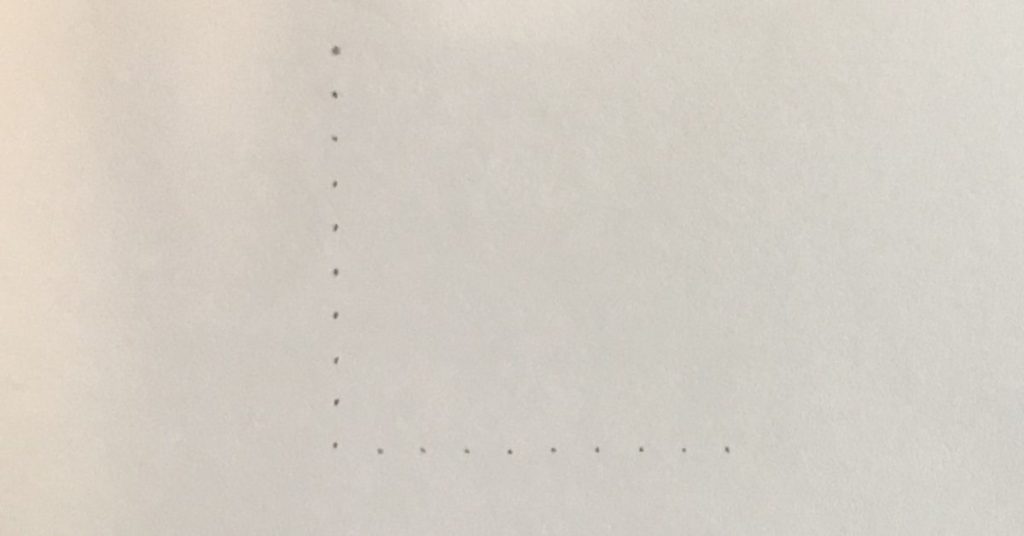
Step 2 – Connect the first horizontal dot to the last vertical dot, then the second vertical dot to the second-to-last horizontal dot, and so on.

Step 3 – Connect every dot, and you will have a nice-looking parabolic curve using only straight lines.
Insider tip #2: If you’re a beginner artist, I recommend increasing the dots’ distance as you gain more experience. The closer the dots are to each other, the easier drawing the straight line will be.
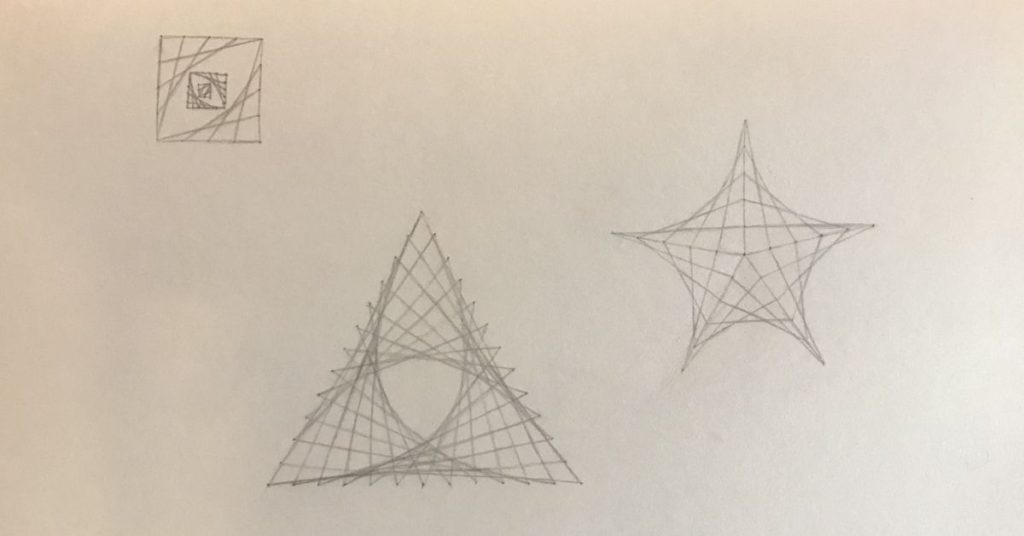
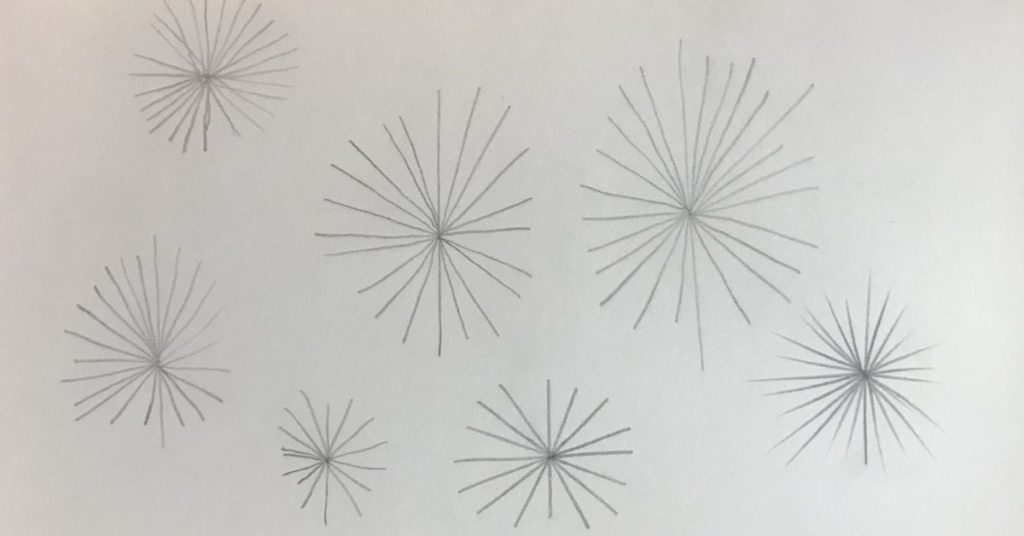
Here are some other parabolic curves I’ve drawn to practice my lines.
Let’s move onto the next tip.
3. Draw Straight Lines At A Regular, Constant Speed
Another great tip that can help you draw straight lines better is to draw them in quicker-than-normal strokes. Doing this can help you a lot because quick strokes make your arm and hands avoid shakiness.
Let’s put each drawing pace into perspective:
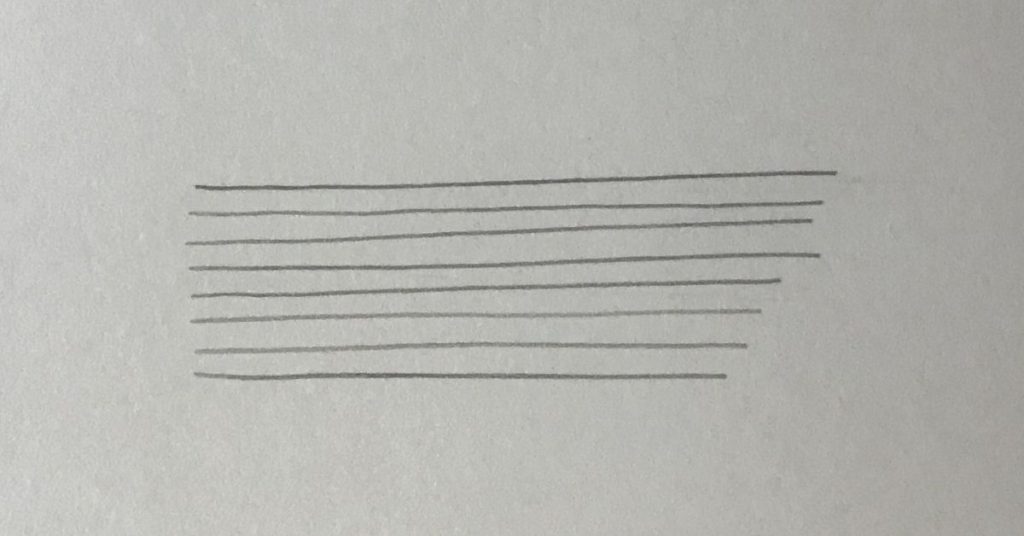
Drawing Straight Lines At A Slow Pace
Many of them seem shaky and crooked. Not exactly my goal here. Of course, you can get to draw straight lines at a slow pace, but it will be more challenging.
Drawing Straight Lines At A Regular Pace
Not too slow, not too fast. I would say my straight lines look best when I draw them at a regular pace. I believe this happens because it gives me more time to readjust my elbow and shoulder as I draw.
Drawing Straight Lines At A Fast Pace
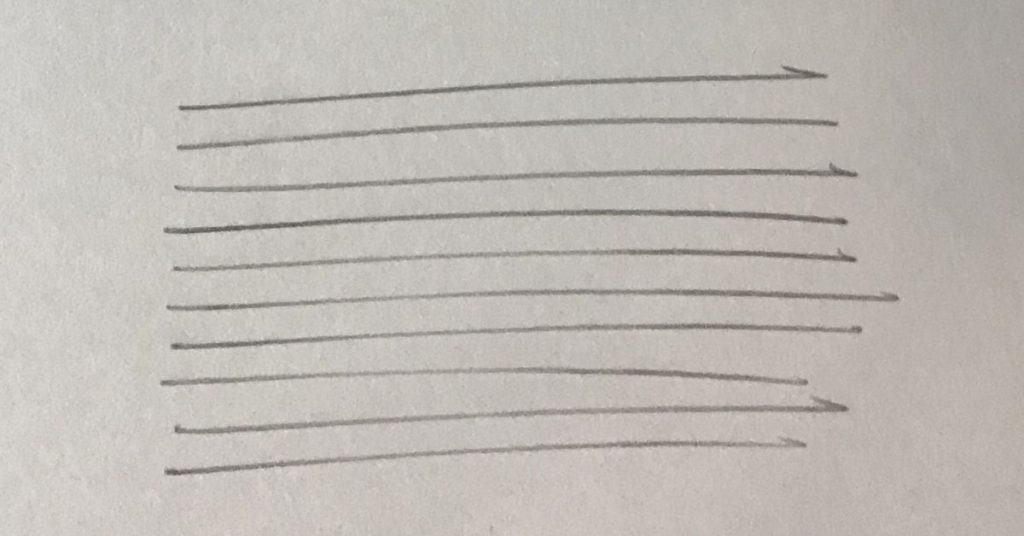
These straight lines look better than the slower-paced ones! And of all exercises to get used to drawing straight lines better, I think this one is the best.
Try this exercise yourself and find your best drawing pace. However, if you’re open to getting a piece of advice, do try to make the regular or fast drawing pace your standard.
Insider tip #3: If you’re attempting to draw something similar to what I did on the regular pace example, draw at your regular pace as well. When you draw lines at a faster pace, you gain line quality but lose line control. But you can always try it!
4. Get A Sense Of The Line Before Drawing It
I would say this tip applies not only to drawing straight lines but also to many other drawing aspects. Every stroke should have a visual or an imaginary reference before you do it. Lines will always look better if they have a purpose behind them.
Remember the dots exercise? Well, we would basically do the same, except we won’t be drawing any dot in this case, but we will imagine they are there. Once you visually estimated where the dots would be, take your hand to where the line would start, lift it so that the pencil doesn’t touch the paper, and make the stroke. Remember, we’re just getting a sense of the line; no line should be drawn yet.
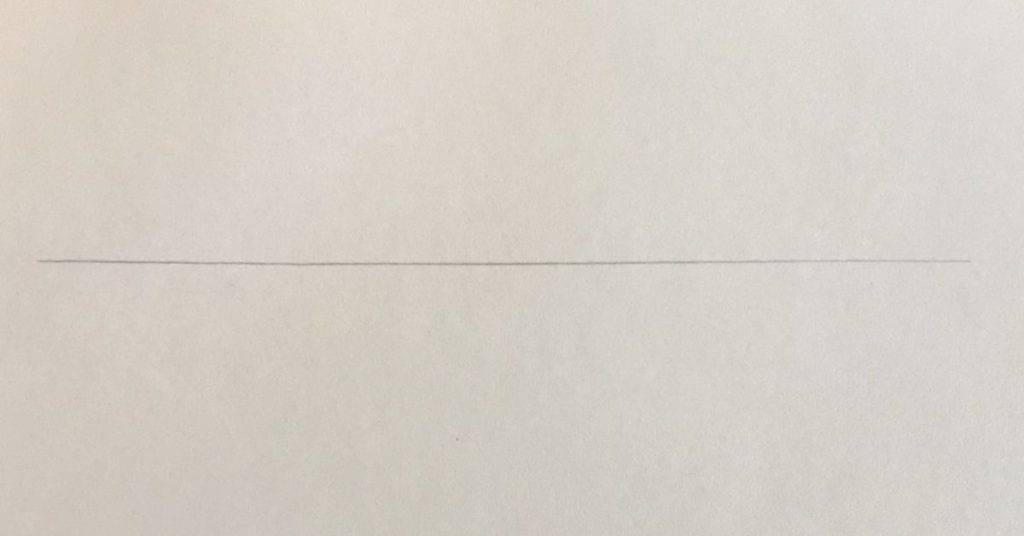
Repeat the movement you would make to stroke the line forward and backward until you have a clear view of the line you want to draw. Then, go to the starting point and stroke the line confidently. The result should be something like this: a clean, confident, and simple line.
Insider tip #4: This tip is more of a personal/emotional one. I’ve met many artists, and many of us are usually worried about how our art pieces will look like or what other people will think about them. I’ve been there. But put those thoughts away and draw confidently. Let your lines be proof of that confidence! Art is beautiful because it isn’t perfect.
5. Find A Comfortable Position To Draw Lines
I think everyone is very familiar with this tip. When we draw, there’s always a position that feels more comfortable to do it. In my case, drawing vertically from bottom to top is how I feel more comfortable and draw better straight lines. Some people might feel drawing straight lines from top to bottom is easier, and it’s different for everyone.
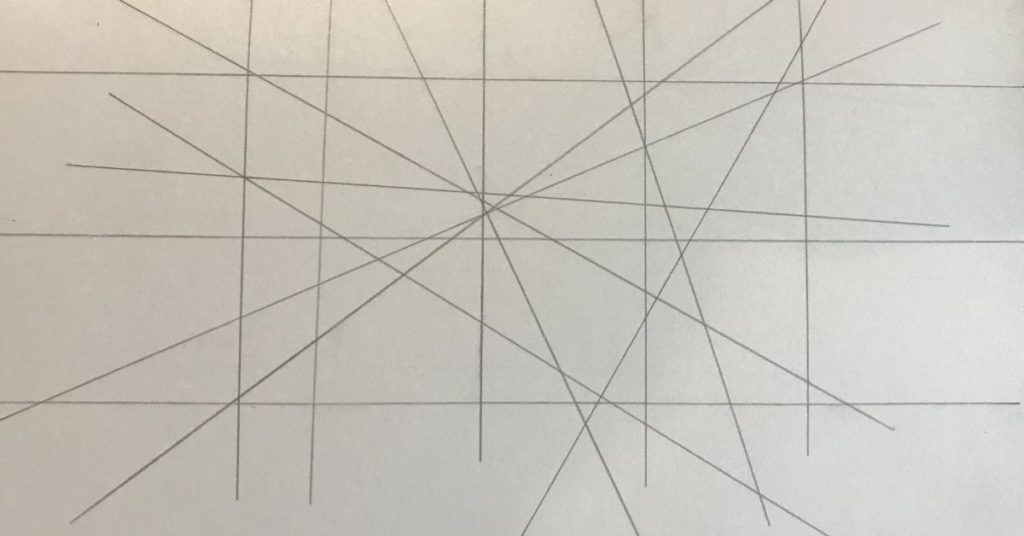
If you’re not aware of your best drawing position, start drawing straight lines in different directions in the same position and analyze what lines turned out better and why. See an example of it below:
As you can see, the more vertical the line is, the better I tend to draw them. Usually, I would rotate the paper to match the direction I feel best to draw my lines, and although this is not necessarily a bad practice, there are moments you do need to draw lines out of your comfort zone.
However, for now, get the advantage of this tip and start drawing better straight lines.
Insider tip #5: If you’d like to draw better straight lines out of your comfort zone, use this tip’s example and identify which are the lines you need to work more on and practice them.
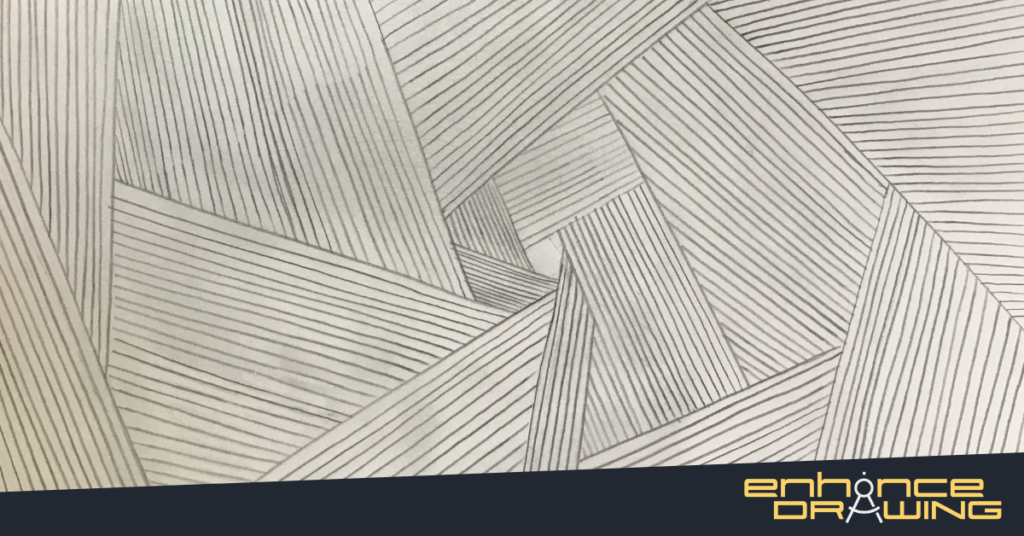
6. Practice Lines By Crosshatching Your Drawings
In art, there’s a fantastic shading technique called crosshatching. It refers to drawing a series of lines in one direction and then crossing them over with another series of lines, creating a crosshatching grid pattern. These lines are mainly straight, so applying this technique to your drawing is a great practice to draw straight lines. If you’d like to know what crosshatching is, you can visit that blog post!
Here are some skull drawings I shaded using crosshatched lines.
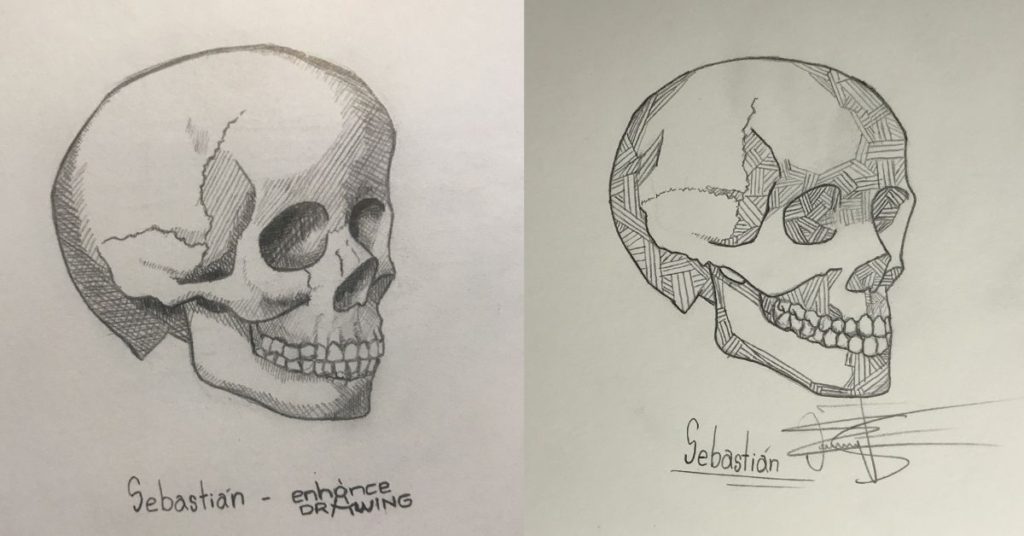
As you can see, both of them are full of straight lines in many directions. Not only does it make them look pretty cool and unique, but it also makes them great practice for your straight lines.
Although the drawing I showed you above didn’t have many long, straight lines, it doesn’t mean you cannot shade drawings with longer lines using this technique. On the contrary, this is definitely something you can do, and many great artists use it to enhance their drawings.
Insider tip #6: When crosshatching a drawing, take note that the closer the lines are to each, the darker the area will look. Although the drawing I showed above uses straight lines only, other crosshatching styles use many different lines.
7. Trace Straight Lines To Improve Your Control
If you feel like all the tips above didn’t help you at all, and you need to try a different approach, tracing straight lines is also a great way to get started. By tracing straight lines, you will improve your hand-eye coordination significantly, which is very important to draw straight lines.
To do it, find a picture of dark, long, and straight lines and print it. Put a piece of paper on top of it and trace the straight lines. It may seem simple, but it can be challenging! If you don’t have a printer in handy, take a ruler, draw some dark, straight lines, and trace them.
I wouldn’t say this is the ideal way to draw straight lines, but it is definitely something you can do if all the other tips and exercises didn’t work for you. Make sure you only do this until you’re able to start practicing with more useful exercises since those will help you draw better faster.
Insider tip #7: Tracing anything, in general, will improve your line control overall, so you can either trace straight lines or anything else you want. Of course, if you stick to straight lines, you will draw them better faster than if you trace cartoons or something like that. If you’re not in a hurry, trace anything and have fun drawing!
8. Draw Lines Without Holding Your Pencil Too Hard
Another thing you could be doing wrong when drawing straight lines is holding your pencil too hard or drawing them too hard. Most of the time, strength will only make your strokes shaky, as these are harder to control. When you draw too hard, it’s almost inevitable to do it at a slow pace, and we already saw that this doesn’t help us stroke better straight lines. Also, too much strength could potentially damage the paper.
I’m not saying you should grip your pencil loosely, but instead find a point in between a loose and a hard grip. Here are two examples of me drawing a straight line with the two different grips.
Drawing Straight Lines Holding The Pencil Tightly
Not bad, but it could be better. You’ll probably pull a straight line off by doing this, but it will be more related to your experience and skill than to the technique. Controlling the line’s direction is harder when pressing that hard.
Drawing Straight Lines Holding The Pencil Loosely

Better. Drawing straight lines this way is much better, and they come out more naturally. Strength is excellent in some cases, especially if you’re trying to improve your line quality, but keep in mind this is a how-to-draw straight lines tutorial, not a line quality tutorial. If you’d like to see what line quality is, click on the link I just added!
Insider tip #8: Holding your pencil too hard can make your hand muscles feel tired and tense quickly. Strength should be a factor you play with when drawing, not a constant in your drawings.
9. Look At Where The Line Is Going, Not The Lead
Another great tip to enhance your straight lines is to focus on the bigger picture and not on the little details. If you’re constantly looking at the pencil lead, you can potentially miss where the line is going and just notice it when you finish the stroke. Instead, if your focus is on where the line starts and ends, chances are you draw a better straight line.
This tip applies not only to drawing straight lines but to drawing in general. Although little details are crucial to drawing, focusing on the bigger picture is what’s going to level up your skills.
There’s no example image here, as this is a general comment to enhance your drawing skills. If you were looking at the pencil lead while drawing and not the bigger picture, give it a try yourself and see how it turns out!
Insider tip #9: When you’re drawing anything, getting a quick overview of the subject’s main shapes is something that can help you sketch it better. If you start a drawing by committing to every line you stroke and draw every detail, chances are it will not turn out the way you expect it. But if you first draw the main shapes in the most basic forms, you will have a reference to draw the right lines and a bigger chance to get it right.
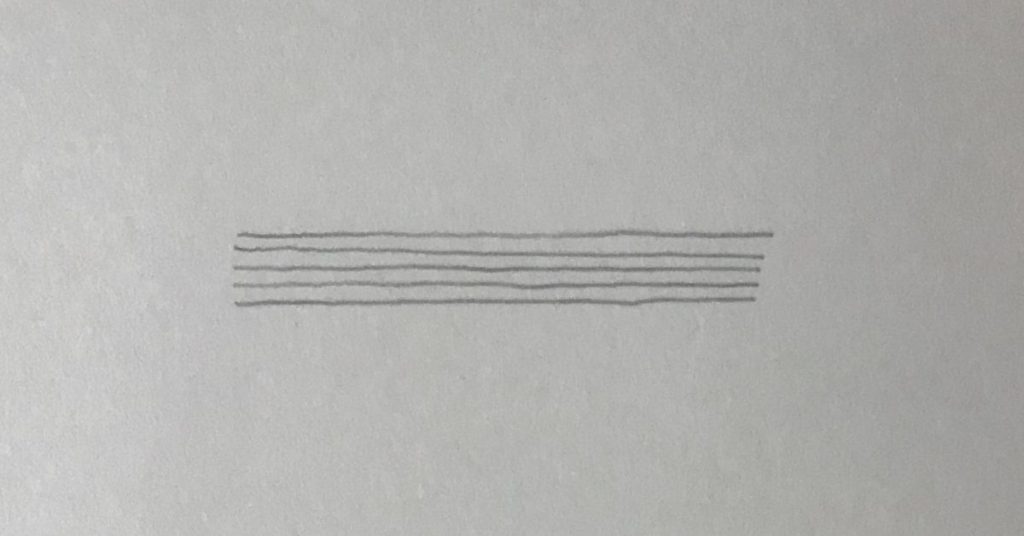
10. Draw Straight Lines Using A Ruler
This tip needed to be on the list. Drawing tools are called tools for a reason, and there is nothing wrong with using them. If you need to get a perfectly straight line quickly, using a ruler will help a lot. I know many artists who use rulers regularly when drawing in perspective, and that doesn’t make them less skilled or anything.
However, one thing to consider is that using a ruler makes a flat, emotionless lines, and you can notice that immediately when you see them. Let’s see an example of them below:
As you can see, ruler lines look flat, but very precise. In fact, I wouldn’t like to see an architectural drawing or technical drawing with inaccurate straight lines; it’d be weird. So, depending on what you want to draw, ruler lines are sometimes a must. If your goal is to learn how to draw straight lines freehand, apply all the other tips above and practice.
Insider tip #10: Be patient with your progress. Drawing is a skill anyone can learn, but it takes time to master it. Your lines won’t look as you want them to look initially, and that’s normal, but they will look better every day. Just don’t give up and continue drawing; I assure you it is worth it.
Happy drawing you all!