Have you ever seen artists drawing magnificently without using any tools but a pencil and their skill? I had, and I have always admired them. Being able to do this is called freehand drawing, but what is it exactly?
Freehand drawing refers to the ability to draw something without using any tools or mechanical instruments like grids, rulers, or compasses to help them do it. Instead, artists draw using only their hands and rely on their observational skills to measure and draw what they see.
For many artists, I included, mastering freehand drawing is one of our goals. In this blog post, you will learn the secrets of achieving great freehand drawing skills.
What Is Freehand Drawing?
Freehand drawing is the purest way to draw, and it is also the most difficult way to draw. To draw something freehand, you must not use anything that could be considered an aid to do it: tracing, taking measures, using a compass, or anything as such is not freehand drawing.
Do you remember the first time you took a pencil and started drawing anything? Or have you seen a child do it? Most probably, you, or the child you saw drawing, weren’t using any tools to draw but a pencil and their heart. That example is freehand drawing; every one of us starts drawing that way, but for some reason, we stop doing it as we grow older. Eventually, we start realizing our drawings don’t look as we want them to look, so we start tracing them; we also start using grids or anything at our disposal to improve our drawings and be prouder of our creations. Most people quit drawing at this stage, and others choose to take the artistic path; others like you.
It is natural for a beginner artist to use grids and rulers and draw a subject while learning. Using these tools is a great, proven way to get better at drawing, and every artist should use them. Even the greatest artists of all time did it when they were learning, so why wouldn’t you?
Anything you draw is art, freehand or not freehand. So there’s no shame in using everything at your disposal to create your art as long as you don’t have any bad intentions behind it.
Being able to freehand draw anything without any aid is the goal most artists have, and it is a drawing level you will acquire with enough practice and time. But how can you get started at freehand drawing?
How To Draw Freehand?
Being able to draw anything freehand is something you naturally will learn to do as you draw and practice more. However, there are things you can do to make this process much faster. If you want to draw something freehand, you must pay attention to the details and focus solely on drawing what you see; otherwise, you will get an inaccurate result.
I know I’m explaining things a lot, but trust me, it is worth reading. I will show you how to put everything you’re learning right now into paper later in this post.
Unless you have lots of experience drawing a subject, it is common to see people drawing things as they think they are, instead of drawing them as they see them. When you draw something freehand, you need to rely on what you see and not what you know; this only applies when you don’t have experience drawing the subject a number of times. If you feel like your observational skills aren’t very good, I have a blog about drawing upside down, in which I explain a life-changing exercise to improve the way you see when drawing by a lot!
Let’s go over some techniques that will help you improve your freehand drawing skills.
Essential Freehand Drawing Techniques
Although learning to freehand draw anything may seem like a difficult thing to do, some techniques will help you do it more easily. The aspects that control how good you can freehand draw a subject are your observational skills and line control. You need to see something accurately and be able to draw it as you see it.
- Focus on small portions of what you’re drawing, not the bigger picture. When freehand drawing, it’s important to focus on the little details rather than the complete subject you have in front of you. If you focus on drawing small portions of your drawing, chances are you will get better results.
- Take your time to analyze every pencil stroke. The more time you give to your drawing, the better it will look (in most cases), especially if you’re drawing a complex subject. By analyzing every pencil stroke, I mean that each line you make must have a purpose, so take your time and see what length and angle you want your line to have before making it. Every drawing is just a combination of many lines, and if you draw every line correctly, your drawing will look great.
- Use anything you draw first as a reference. When freehand drawing, you need to focus on making sure everything is proportionate; otherwise, your drawings will look unnatural. If you’re drawing a person and the first thing you drew was an ear, use it to keep the rest of the drawing proportionate. For example, if you see in the image that the ear is three times bigger than the eye, make sure you represent that in your drawing.
Those three are the most important aspects you should take into consideration when freehand drawing. But to make them clearer to follow, below you will find some images and more detailed instructions on how to learn the basics of freehand drawing.
The Basics Of Freehand Drawing For Beginners
To make sure you can apply the techniques we mentioned above, I will guide you through the process using one of my freehand drawings.

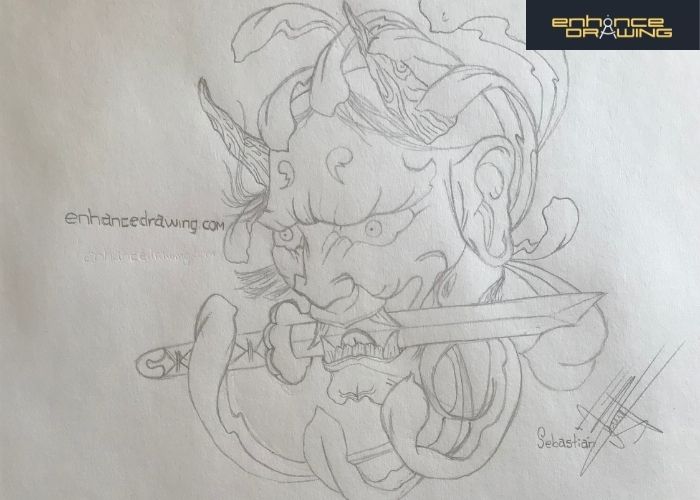
I picked Moro for this exercise because I think it is a complex enough drawing to test the effectiveness of the freehand drawing techniques we talked about above. Also, the number of details and lines he has on his face and body make it a perfect sample to get the most out of the techniques.
Let’s get started. Feel free to take a sheet of paper, a pencil, and freehand draw Moro!
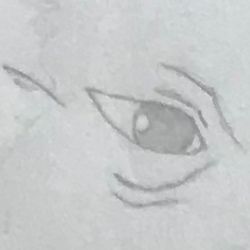
1- Focus on small portions of what you’re drawing, not the bigger picture. If we see Moro the Wolf as a whole, it might be a little overwhelming. Instead, if we focus on drawing a small portion of him, our eyes and brain will process it a lot faster. To start, we will focus on drawing his right eye.

As you can see, focusing on drawing just the right eye isn’t a complex task but rather a simple one. Remember to draw in a small scale, you still need space to draw the rest of the drawing!
2- Take your time to analyze every pencil stroke.
Before you draw Moro’s right eye, it’s essential to do it with a purpose. Remember and apply the second technique you learned:
- Apply technique #2: analyze every stroke you make.
- Decide what’s the length and angle of the line you’re about to draw.
- Draw Moro’s right eye.
Once you’re finished, continue to the next step.
3- Use anything you draw first as a reference.
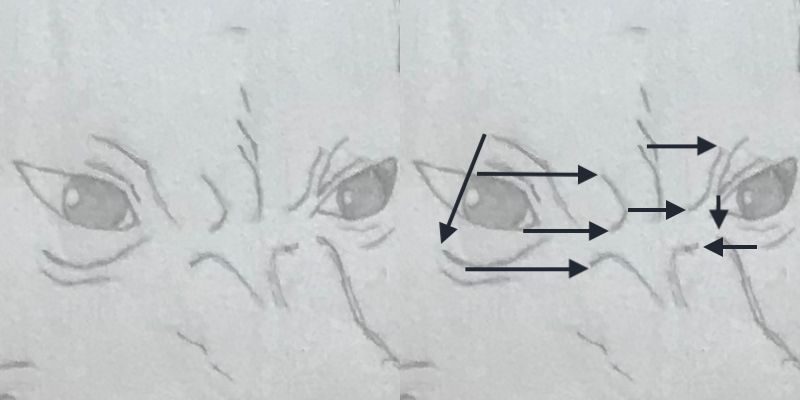
Since we started drawing Moro from his right eye, we will use it as our main reference to continue drawing the rest. Use the image below and draw the lines surrounding his eye.
As you can see, Moro’s eye has some eye expressions around it, which are now easier to draw because we have something to use as a reference. Remember to keep everything in the right proportions. Use the eye you drew to measure where the rest of the lines should be.
Ask yourself:
- How far is this line from the eye I already drew?
- How curved is the line I’m about to draw?
- How long is the line I’m about to draw?
- What’s the angle or direction of this line?
- Where does this line starts and/or ends compared to what I already drew?
If you ask yourself questions like this often, they will turn into muscle memory, and you will be able to identify where to draw in the blink of an eye, even if you are not thinking about it.
Now, start moving right and continue drawing another small portion of the drawing. Remember to use the last lines you drew, the eye expressions, to draw the facial expressions. Focus on the details and measure their distance by eye. Create imaginary lines that connect what you have already drawn to the next line you want to draw so you can estimate where to make your stroke and keep your drawing within the right proportions. See the image below to guide yourself.
You can create any imaginary line you need. Your goal here is to give yourself an idea of where to make your next You can create as many imaginary lines as you need. Your goal here is to get an idea of where to make your next stroke, so if you notice that a line is the same height as the eye, you can make the line and be sure it will have the correct proportions.
Finally, feel free to continue the complete Drawing of Moro I shared with you at the beginning of the exercise and apply what you learned. But, don’t draw it in a hurry; this is not a race! Take your time to practice what you learned, and you will be able to draw anything much faster in the future.
If you want to continue improving your freehand drawing skills, see how to do it below!
How To Get Better At Freehand Drawing
Learning to freehand draw is one thing, but improving at it is a different thing. It may look like the only thing we need to do to improve our freehand drawing skills is just drawing more, but it’s a combination of many things. I believe anyone can learn to freehand draw anything by following a proper drawing routine and practice enough time.
How Do You Practice Freehand Drawing?
To practice freehand drawing, you can do various things. Almost anything related to drawing fundamentals would be a valuable resource you can use to improve at drawing without any aids. I have a blog about getting better at drawing, which will help you improve your overall drawing skills if you want to follow a step-by-step guide. However, if you want to focus on freehand drawing, I consider these three aspects the most important skill you need to do it right:
- Observational skills: To practice your observational skills, you can use the blog I made about drawing upside down (I linked it above). When you draw upside down, it’s like you’re drawing something you don’t know, which trains your brain to focus on what you see.
- Line control: To practice your line control, you can visit this about line quality or this blog about how to draw straight lines. The two of them offer valuable exercises that will help you improve your lines in many aspects. If you want a curved line, you need to be able to do it when you need it.
- Knowledge about perspective: To learn about perspective in drawing, look for videos talking about 1-point, 2-points, and 3-points perspectives. You just need to know the basics for now. I have not yet created a resource about perspective, but I will do it soon!
The better you are at those three, the better your freehand drawings will look. So now, let’s see what exercises to do if we want to practice freehand drawing.
Freehand Drawing Exercises
You can do various exercises to practice freehand drawing, including line control exercises, spacing exercises, and actual drawing. I will share with you the two most effective exercises I’ve found so far to improve your skills quickly.
1- Spacing Exercise – Learn to Freehand Draw With Right Proportions
To practice getting the right proportions (one of the most common problems when drawing freehand), you need to draw the same drawing many times until you understand its proportions. If you just started practicing freehand drawing, the best way to practice this skill is to look for symmetrical drawings and sketch them. Below are three drawings I did some time ago you can use to practice.
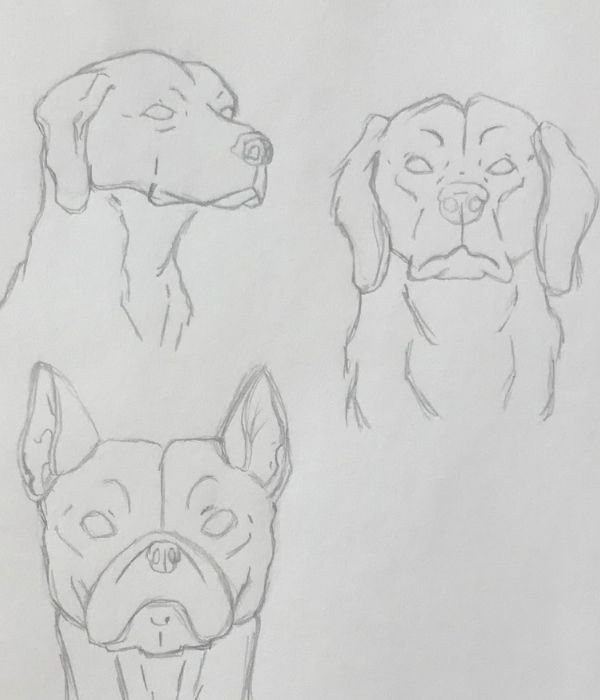
Start by drawing the labrador on the right and the French Bulldog on the left. I advise you to do it because those two drawings are symmetrical, and if you apply the techniques you learned above, you will get very accurate results. Once you successfully draw the two dogs, try the one with a different perspective and test your abilities!
Don’t feel bad if your drawings don’t look as you expect them to look. Learning to draw is a complex task, but if you practice and draw often, results will naturally show. Instead, cheer yourself; you’re part of the group of people who want to enhance their skills and take action.
2- Line Control – Learn To Be Precise With Your Freehand Lines.
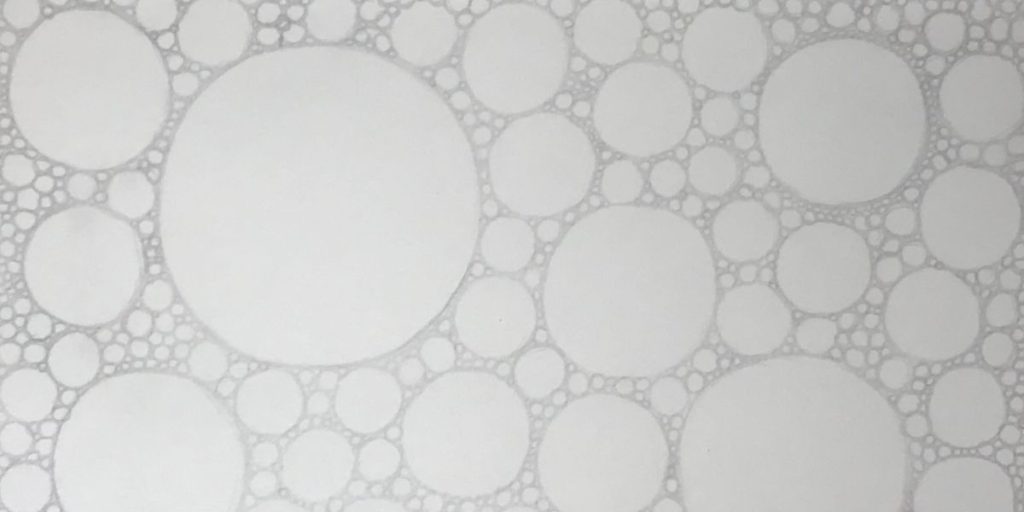
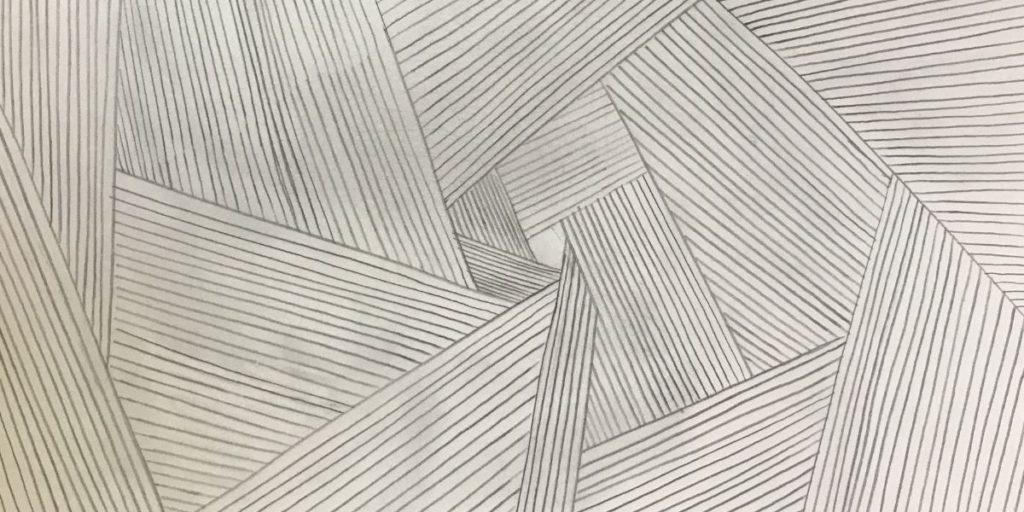
Another crucial factor that will impact how good your freehand drawings look is your line control. If you intend to draw a straight line and the result isn’t accurate, your illustrations won’t look as good as they could look, regardless of how good the rest of your skills are. There’s always room for improvement, and it’s always a good idea to practice your line control whenever possible. Below are two exercises of line control you can practice today. One consists of drawing hundreds of circles, and the other consists of drawing hundreds of straight lines.
Draw hundreds of circles!
Draw hundreds of lines!
Doing these types of exercises is very relaxing and very rewarding. If you practice it, you will see improvements in your line control.
3- Drawing You Can Use To Practice Your Freehand Drawing Skill
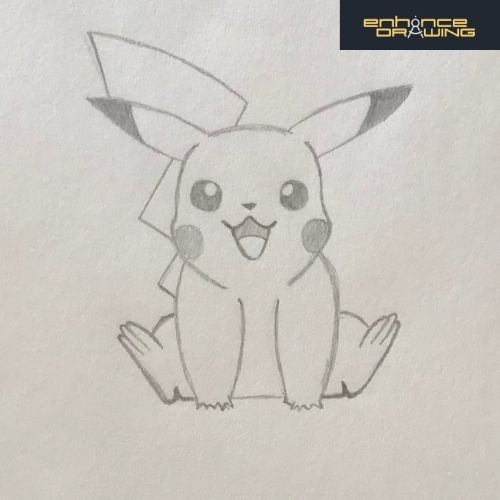
Last but not least, the third, best way to practice your freehand drawing is to actually freehand draw complex illustrations. Below are some examples of freehand drawings I did some time ago. Feel free to use them to practice!
Easy
Intermediate
Hard
If you want to see more of the drawings I’ve done, feel free to visit this blog post where I share with you 101 drawing ideas, mainly in an anime style. I did all of the 101 drawings over there, so if you want to use them as a reference, do it! 🙂
Before we finish, I will answer two common questions I’ve received about freehand drawing.
Why Is Freehand Drawing Important?
We know freehand drawing is possibly the hardest way to draw and also the purest. But apart from that, why is freehand drawing important?
Freehand drawing is important because it demands well-developed observational skills and line control from an artist. In addition, freehand drawing is also important because since it is a way of drawing that does not use any aid or tool, it effectively shows how skilled and talented the artist is.
Freehand drawing is probably the most satisfying way to draw; it’s quick and requires you to be skilled at drawing. However, if you want to draw complex things without any aid and you’re not at that level yet, freehand sketching is one of the best ways to get started.
Difference Between Freehand Drawing And Sketching
Apart from freehand drawing, there’s also freehand sketching. Although these two have a very similar definition, they are different from each other. So what is freehand sketching?
Freehand sketching is the ability to sketch something without using any aid to illustrate a subject—tools like rulers, grids, or compasses are not allowed when freehand sketching. Artists sketch using only their hands and observational skills to prepare themselves before drawing the subject.
In essence, as you could see, they are the same, but they differ in their purpose. The main difference between freehand drawing and sketching is that sketching is more for studying than representing. Therefore, once you understand what you’re drawing, you can freehand draw it more easily and make a better, more elaborated illustration.
I hope this post was helpful to you, and I wish you the best in your drawing journey!
You are always welcome if you want to continue learning! There are many valuable resources here at Enhance Drawing.
Happy drawing!